Lip filler aftercare: Your day-by-day recovery guide

You’ve had your lips done. The numbing has worn off, the swelling is already starting, and you’re staring in the mirror wondering whether this is normal. It is. But what you do in the next 24 to 72 hours matters more than most people realise.
Good lip filler aftercare is the difference between a smooth recovery and an uncomfortable one. It affects how quickly swelling resolves, whether bruising develops, and how your final result looks once everything settles. The instructions aren’t complicated, but they are specific, and following them closely in the first few days makes a real difference.
At Be Your Kind in Edina, every client leaves their lip filler appointment with a clear post-care plan. What follows is the full version of that plan: what to do, what to avoid, what’s normal, what’s not, and what your lips will look like at each stage of healing.
Key takeaways1. Swelling peaks at 24 to 48 hours and resolves over 10 to 14 days.2. Avoid alcohol, straws, exercise, and heat for the first 24 to 72 hours. 3. Use cool compresses and Tylenol for comfort, not ibuprofen or other NSAIDs. 4. Bruising is normal and typically fades within 5 to 10 days. 5. Natural lip filler results take 2 weeks to show, not just one day. |
Table of contents
What to expect in the first 24 hours
Your lips will be noticeably swollen within the first hour after treatment. They’ll look fuller than your intended result, sometimes significantly so. We always tell our clients: what you see in the mirror tonight is not your final result. It’s your lips plus swelling, and the two are very different things.
You may also notice some redness, tenderness, and mild throbbing. Small bumps at the injection sites are common and usually flatten within a day or two. If your provider used a cannula, there might be a small entry point mark. If needles were used, you may see tiny dots where injections were placed. All of this is a normal part of the lip filler healing process.
By bedtime, swelling will have increased from where it was when you left the clinic. Don’t panic. Peak swelling hasn’t hit yet, and that’s completely expected.
Lip filler swelling stages: Day by day
Understanding the lip filler swelling stages is the single most reassuring thing for anyone recovering from treatment. Most of the anxiety we see at Be Your Kind comes from clients not knowing whether what they’re experiencing is normal. Here’s the timeline we walk every client through.
| Day | What to expect |
|---|---|
| Day 0 (treatment day) | Swelling begins within the first hour. Lips look noticeably fuller than final result. Some tenderness and redness at injection sites. |
| Day 1 | Swelling increases overnight. Lips feel firm and may look uneven. This is typically the most alarming stage. Bruising may start to appear. |
| Day 2 | Peak swelling. Lips are at their most dramatic. Upper lip may swell more than lower or vice versa. This is not your final result. |
| Days 3 to 4 | Swelling starts to come down. Lips begin to soften and feel less tight. Shape starts to emerge. |
| Days 5 to 7 | Most visible swelling has resolved. Bruising, if present, is fading. Lips feel more natural to the touch. |
| Days 8 to 13 | Residual firmness softens. Shape and symmetry become clearer. Minor unevenness from swelling usually resolves here. |
| Day 14 | Filler is fully settled. Final result is visible. This is the point to assess whether you’re happy with the outcome. |
By day 14, the lip filler healing process is complete. If you had half a syringe of lip filler (0.5 ml), swelling will be milder than with a full syringe but the timeline is the same. By day 14, what you see in the mirror is your result.
If you want more volume after seeing your settled outcome, your Be Your Kind provider can add to it at a follow-up. Building gradually is how natural lip filler results are achieved at Be Your Kind.
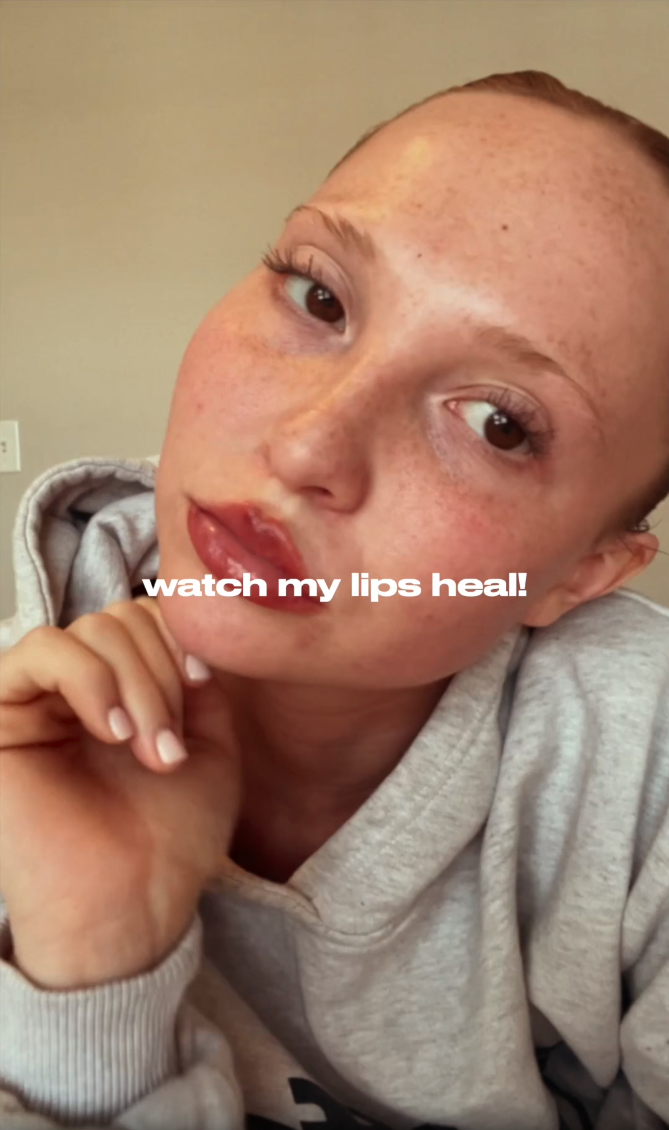
Here’s what that recovery looks like on a real client, from day 1 through to day 11.
Lip filler aftercare: What to do & what to avoid
What to do after lip filler
Good post lip filler care starts the moment you leave the clinic. These are the active steps that help swelling resolve faster and keep you comfortable.
- Apply a cool compress in the first few hours. 20 minutes on, 20 minutes off. Wrap the compress in a cloth rather than pressing ice directly onto the skin.
- Take Arnica Montana. If you started it before treatment, continue post-treatment. Arnica supports faster bruise resolution and can reduce swelling.
- Sleep elevated on your first night. An extra pillow under your head helps fluid drain away from the lips overnight. Avoid sleeping face-down for at least the first two nights.
- Use Tylenol (acetaminophen) for discomfort. Not ibuprofen, not Advil, not Aspirin. NSAIDs thin the blood and increase bruising risk.
- Stay hydrated. Hyaluronic acid filler attracts moisture. Drinking water supports the filler as it integrates with your tissue.
- Keep the area clean. Gently cleanse around the lips as part of your normal routine. Avoid rubbing, pressing, or massaging unless your provider has specifically instructed it.
What to avoid: First 24 hours
The first day is the most important window for post lip filler care. Filler is most vulnerable to being displaced, so these restrictions matter most right now.
- Alcohol. Dilates blood vessels and increases both bruising and swelling. Even one drink makes a noticeable difference.
- Straws. The suction motion creates pressure that can shift filler before it has settled. Drink from a glass.
- Strenuous exercise. Elevated heart rate and blood pressure increase swelling and bruising risk. Light walking is fine; the gym is not.
- Makeup on the lips. Injection sites are essentially tiny open wounds for the first day. Lipstick and gloss introduce bacteria. Wait until the next morning.
- NSAIDs (ibuprofen, Advil, Aspirin). Blood thinners that increase bruising. Tylenol is the safe alternative.
- Kissing or pressure on the lips. Filler needs time to settle. Significant pressure in the first day can displace product.
What to avoid: First 72 hours
- Saunas, hot tubs, and steam rooms. Heat increases blood flow to the face and prolongs swelling. Hot showers are fine; prolonged facial heat is not.
- Direct sun exposure. UV and heat combined can worsen swelling and increase the chance of post-inflammatory pigmentation at injection sites.
What to avoid: First 2 weeks
- Dental work. The stretching and pressure from dental procedures can affect filler placement. Schedule dental appointments before treatment or two weeks after.
- Vaccines and laser treatments. Both trigger immune and inflammatory responses that can interact with filler. Plan these around your appointment.
Most of our clients are back to their normal routine within a day or two. If you have a social event coming up, we recommend booking your appointment at least two weeks beforehand to give swelling and any bruising time to fully resolve.
How to manage lip filler bruising
Not everyone bruises, but many people do. The lips have a dense network of small blood vessels, and even the most precise injection can nick one. Bruising is not a sign that anything went wrong. It’s one of the most common things we see in the days after treatment.
Most lip filler bruising appears within the first 24 hours and follows the same colour progression as any bruise: red or purple initially, shifting to blue, then yellow-green as it heals. It typically fades within 5 to 10 days.
What helps
- Arnica Montana (tablets or topical) started before treatment and continued after
- Cool compresses in the first 24 hours
- Avoiding NSAIDs and alcohol, which both worsen bruising
- Gentle application of Vitamin K cream or arnica gel to the bruised area after 24 hours
What to avoid
- Pressing or massaging the bruised area
- Heat on the face in the first 72 hours
- Concealer on the lips within the first 24 hours (wait until injection sites have closed)
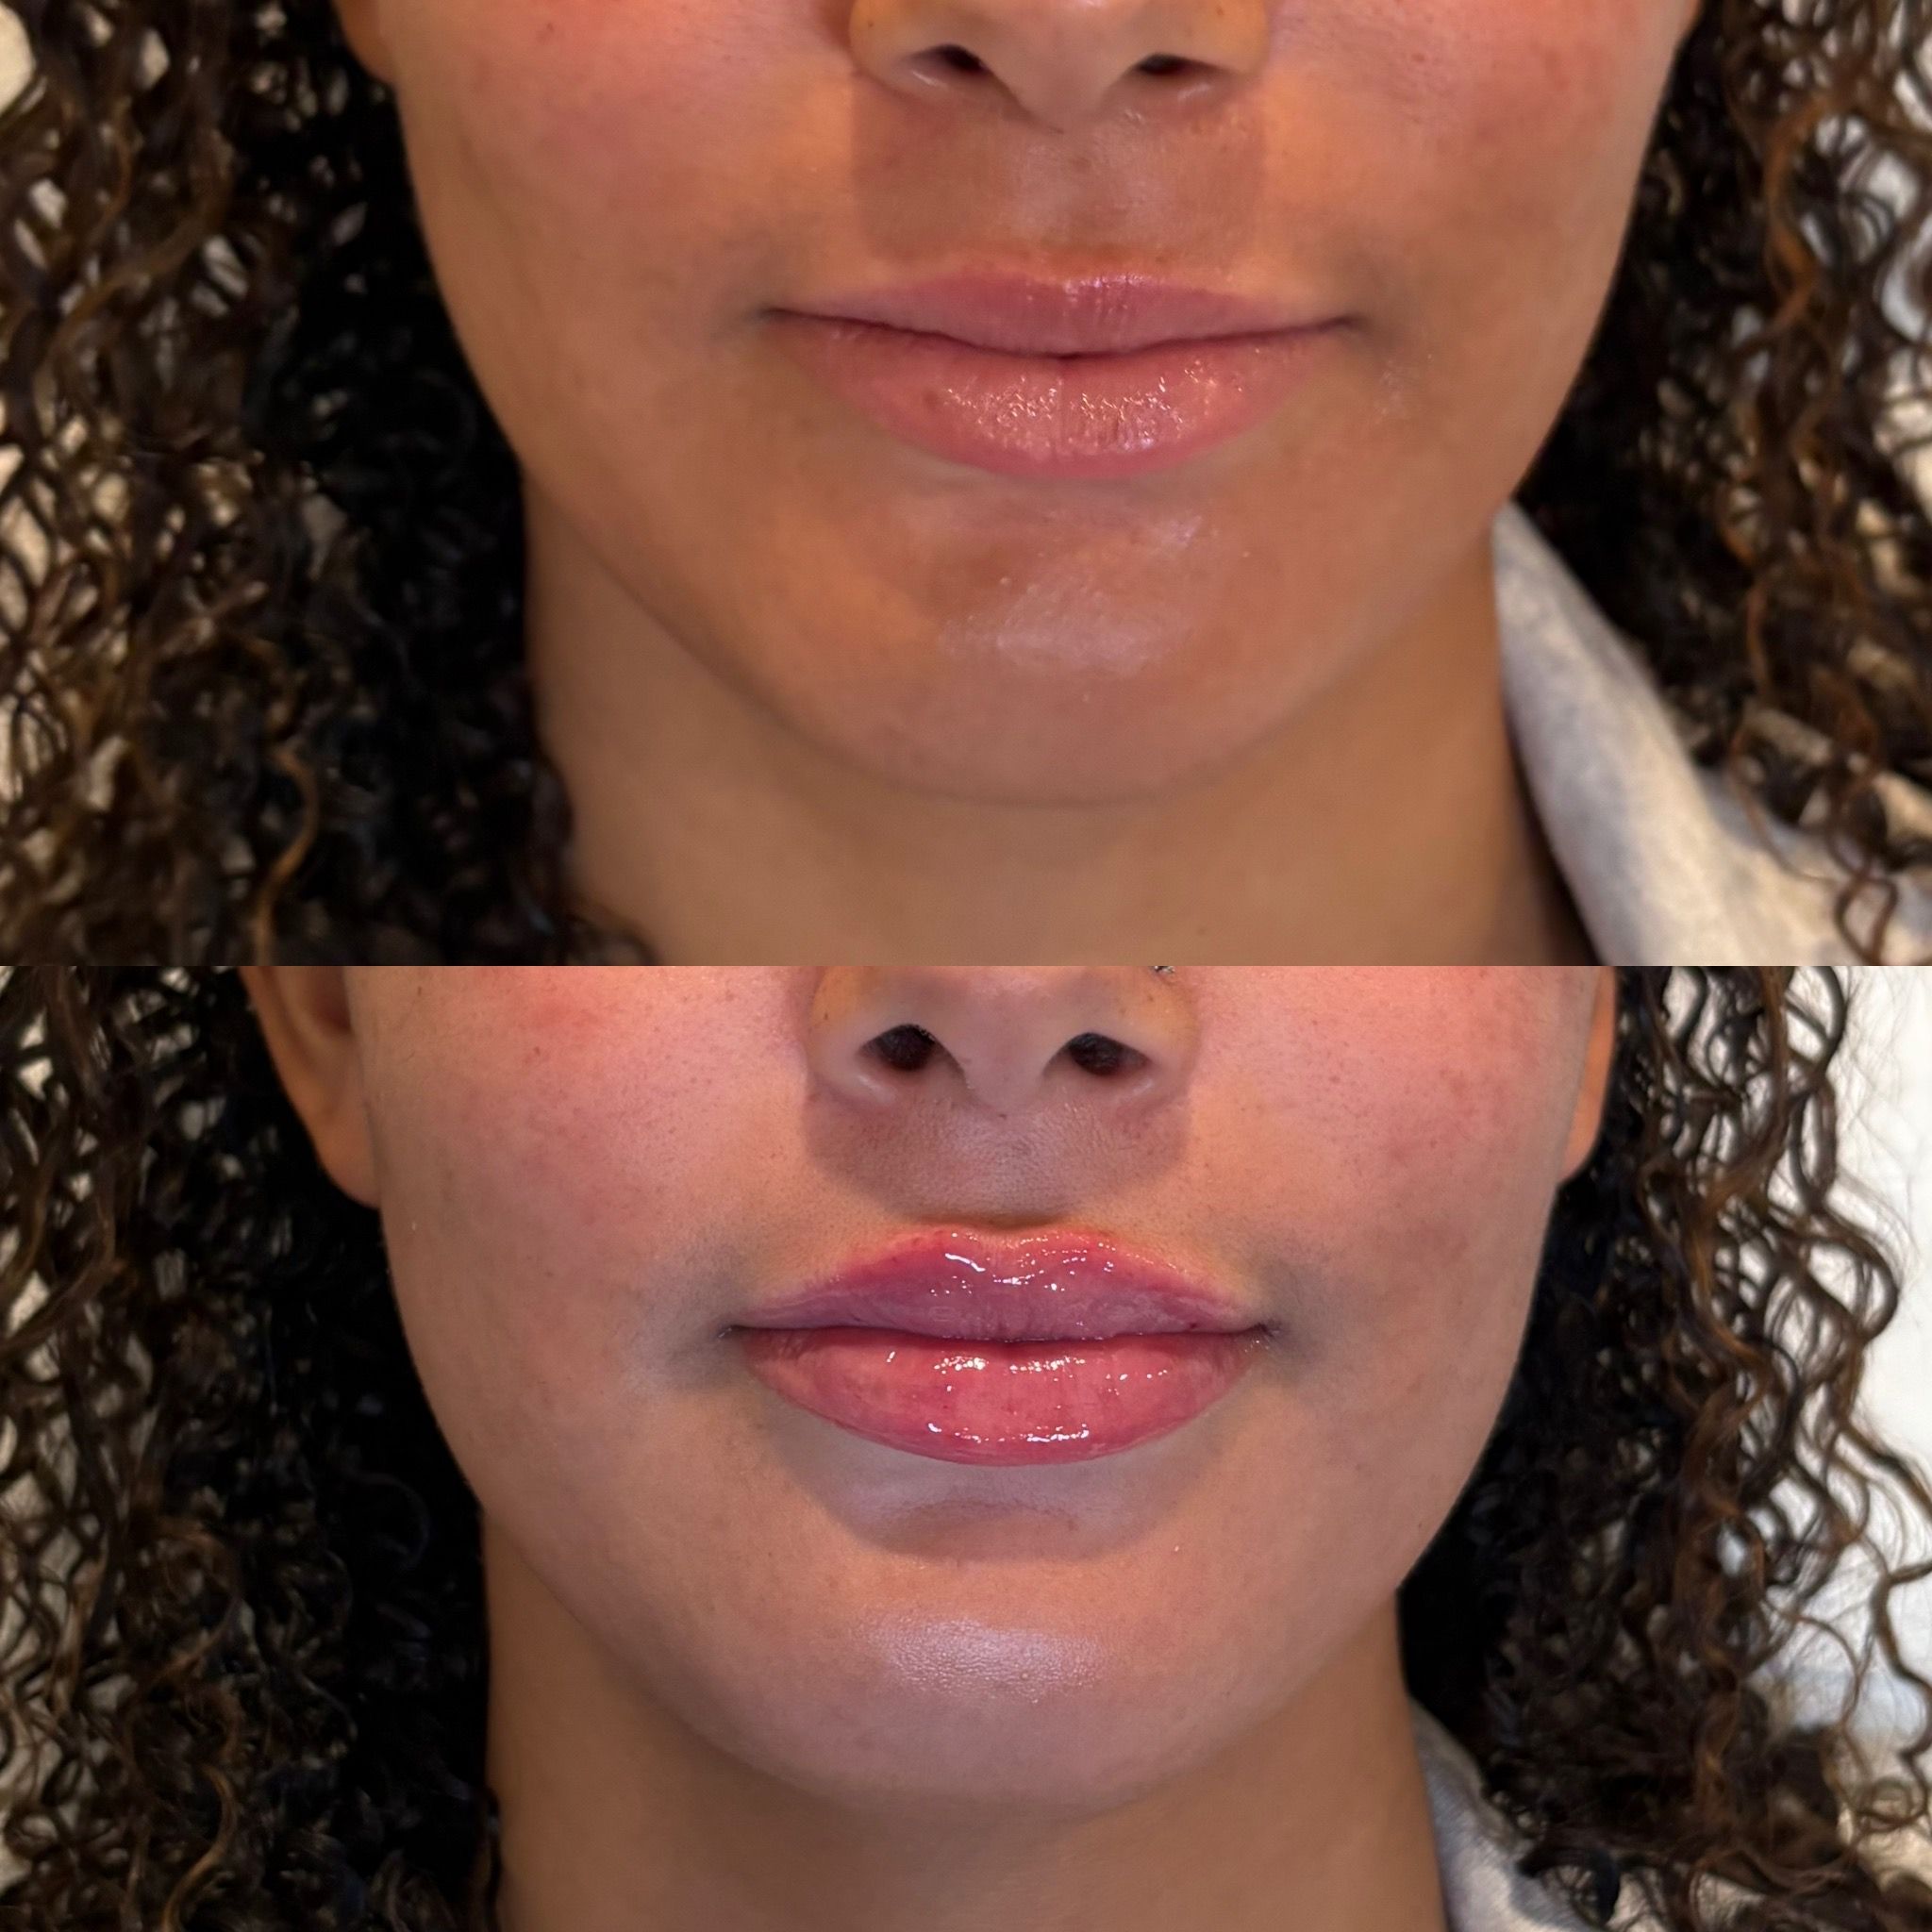
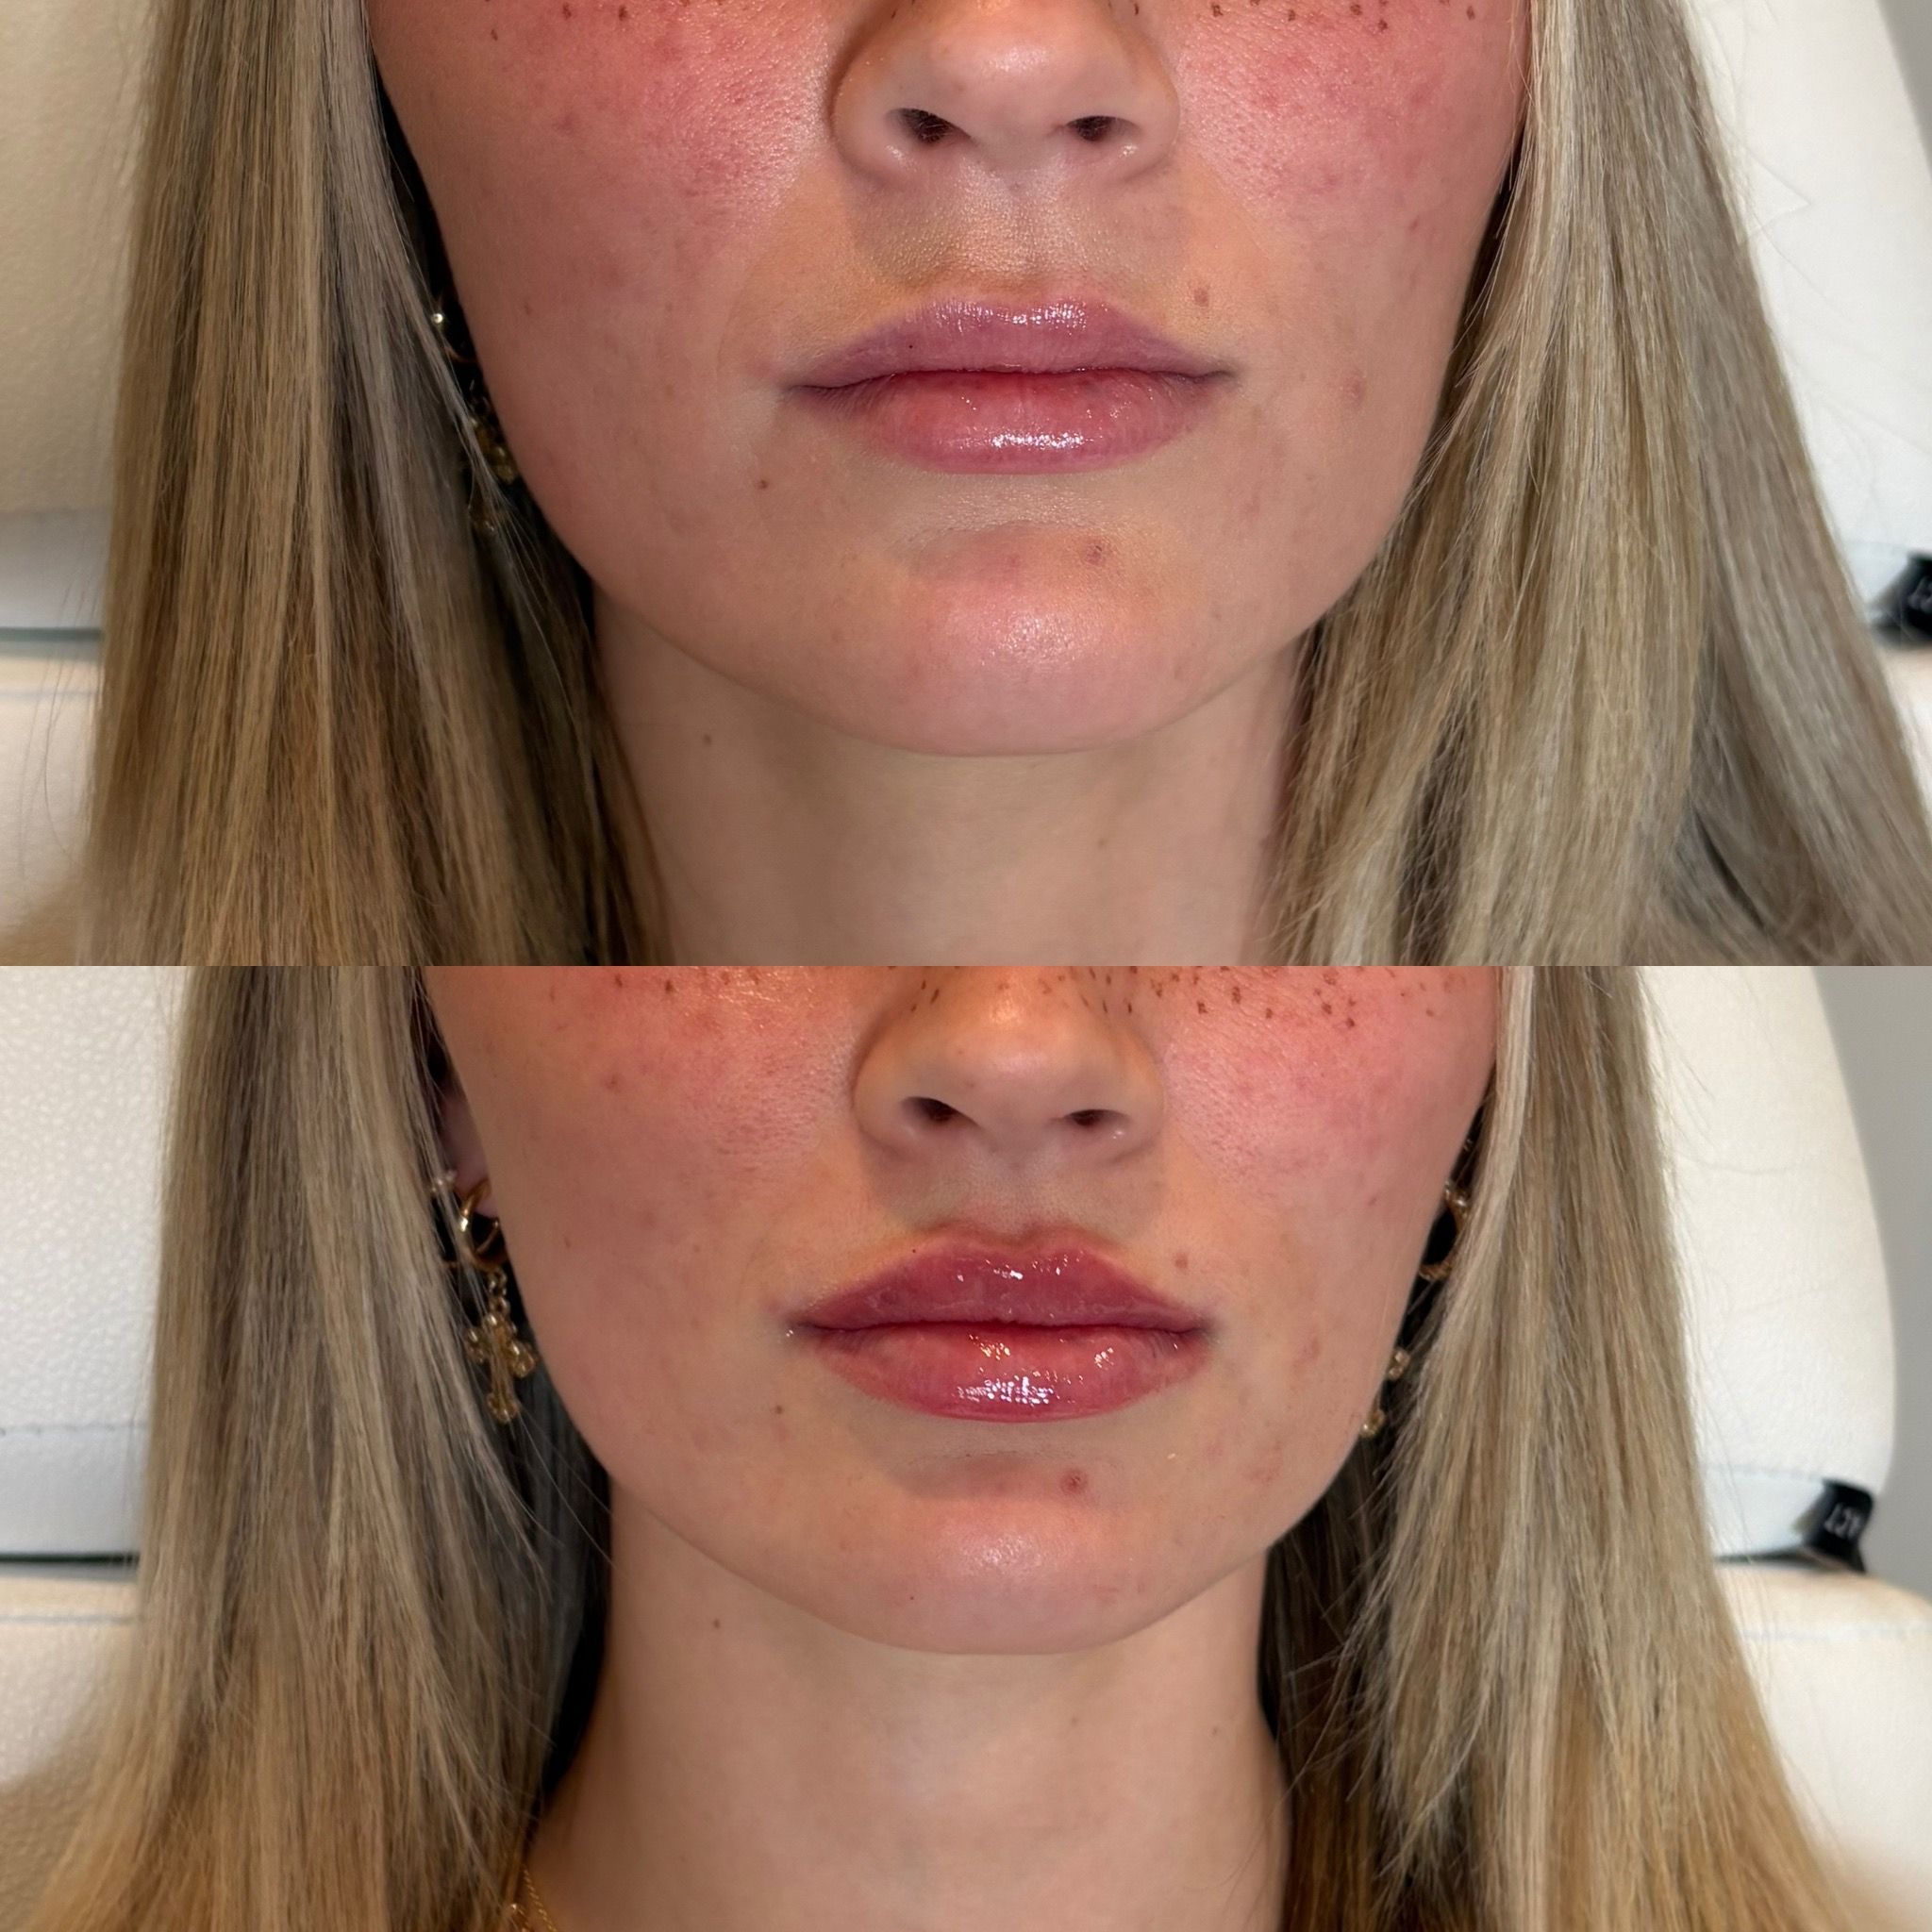
Before & after: What your settled result looks like
Lip filler before and after photos are more useful than any written description. These are real results from clients treated at Be Your Kind in Edina, photographed before treatment and again at 2 weeks once the filler has fully settled.
To see more results across different lip shapes and goals, visit our lip filler before and after gallery.
When to contact your provider
Most post-treatment symptoms are normal and resolve on their own. But there are a small number of signs that need prompt attention.
Contact Be Your Kind immediately if you notice:
- Severe pain that increases rather than improves over the first 24 hours
- Skin colour changes around the lips: pale, white, blotchy, or dusky/grey skin
- Blistering or tissue changes around the injection sites
- Loss of sensation that doesn’t resolve after numbing wears off
These symptoms can indicate a vascular occlusion, where filler has compressed or blocked a blood vessel. It’s rare, but it requires immediate treatment. BYK providers are trained in emergency protocols including hyaluronidase dissolution, which is one of the reasons choosing an experienced injector matters as much as choosing the right product.
Less urgent but still worth a call:
- Swelling that hasn’t improved at all after 5 days
- A noticeable lump or hard nodule that persists beyond 2 weeks
- Cold sore outbreak after treatment (can be managed with antiviral medication)
Ready to book your lip filler appointment?
Good lip filler aftercare starts with a provider who prepares you properly before treatment, not just after. When you know what recovery involves, the whole experience feels more manageable.
Be Your Kind is located in Edina, serving clients from across Minneapolis and the Twin Cities. Every lip filler appointment includes a complimentary consultation, a personalised treatment plan, and a clear post-care protocol so you know exactly what to expect at every stage.
FAQs
- How long does lip filler take to heal?
Most swelling and bruising resolve within 7 to 10 days, but filler continues settling for a full two weeks. Good lip filler aftercare in those first few days helps everything resolve faster. If anything looks uneven or feels unusual beyond the 14-day mark, contact your provider.
- Why can’t I use straws after lip filler?
The suction motion creates pressure around the lips that can shift filler before it has fully settled. This is most relevant in the first 24 to 48 hours while the product is still soft and integrating with your tissue. Drinking from a glass avoids the issue entirely.
- Is bruising normal after lip filler?
Yes. The lips are highly vascular, and even precise injections can cause some bruising. It typically appears within the first 24 hours and fades over 5 to 10 days. Arnica, cool compresses, and avoiding NSAIDs and alcohol all help it resolve faster.
- Does lip filler migrate?
Migration is most often caused by repeated overfilling or poor technique, not the volume of a single treatment. A conservative 0.5 ml lip filler treatment placed precisely by an experienced injector carries very low risk. At Be Your Kind in Edina, the approach is always to build gradually and place product exactly where it belongs.
- When can I wear makeup after lip filler?
Wait at least 24 hours before applying anything directly on the lips. Injection sites need time to close, and applying cosmetics too early introduces bacteria. Foundation and concealer on the surrounding skin are fine from the evening of treatment.
- When do lip filler results look final?
Two weeks. Swelling distorts your result in the first few days, and the filler continues to soften and settle through days 7 to 14. Don’t judge your outcome until the full two weeks have passed. If you’re still not happy at that point, book a follow-up with your provider.